Are you tired of waiting for hot water to come out when you need it? Installing a hot water recirculation pump can solve this problem and save energy. But, how do you install it right for the best results? Let’s look at the steps to set up a great hot water recirculation system.
Key Takeaways
- Understand the key components and electrical requirements of a hot water recirculation system
- Learn the proper steps for installing the recirculation pump and sensor valves
- Discover how to verify the sensor valve operation for optimal performance
- Explore options for parallel sensor valve installation to increase flow and reduce temperature drop
- Get familiar with warranty information and troubleshooting tips
Hot Water Circulation Pump Installation Diagram
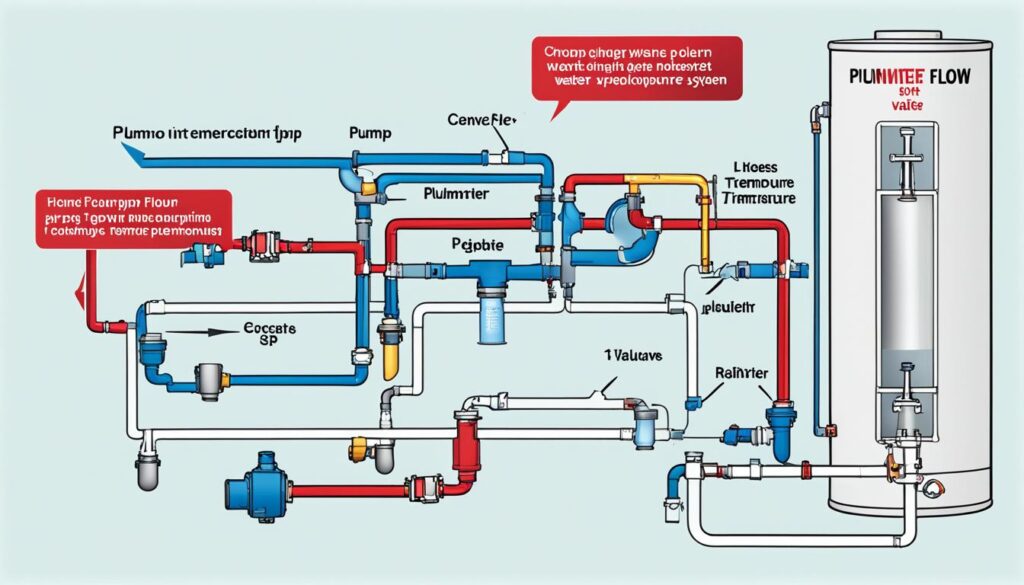
Installing a hot water recirculation pump is key for efficient hot water in your home. You’ll need a detailed diagram and step-by-step guide for correct setup. Let’s go through the main steps for installing a hot water circulation pump.
Preparing for Installation
Before starting, prepare by turning off the remote control and cutting power to the water heater. Then, shut off the gas and water valves going to the heater. This keeps the system safe while you work on it.
Mounting the Pump
Put the recirculation pump on the water heater’s discharge, with the arrow towards the heater and the motor flat. Make sure it’s stable and level.
Wiring the Pump
Next, run the pump’s power cord through the heater’s bottom hole. Connect it to the blue connector on the control board. Don’t forget to link the ground wire to the green screw on the board.
Finalizing the Installation
Make sure the pump is fully wet before starting the system. This protects it from damage at the start. Set the DIP switches on the control board for the right recirculation settings.
By using this detailed guide, you’ll set up your hot water circulation pump right. Your system will then provide steady, energy-saving hot water at home.

| Specification | Details |
|---|---|
| Maximum Use Temperature | 140°F |
| Supply Voltage | 120 VAC, 60Hz |
| Shortest Switching Interval | 15 Minute Increments |
| Operational Temperature | 140°F |
| Manufacturer | Grundfos Pumps |
| Components Included | 8 |
| Sensor Valve Sizes | 3/8″ and 1/2″ |
| Operation Modes | Timer, ON Override, OFF Override |
| Electrical Safety Warnings | 3 |
| Operating Temperature Range | 140°F – N/A |
Circulation Pump Installation Diagram
Installing a hot water recirculation pump is easy if you follow the right steps. It’s important for a safe and successful setup. Let’s look at the steps to install a circulation pump.
First, turn off the power to the water heater and close the gas or water valves. This keeps you safe while you work on the system.
- Recommended water pressure for a recirculating system is set at 35 psi (241 kpa) and above in most residential plumbing systems.
- Pumps should not produce flow rates higher than 4 GPM (15 LPM) in 1/2″ copper pipes and 8 GPM (30 LPM) in 3/4″ pipes to prevent pipe erosion.
Then, put the hot water recirculation pump on the water heater discharge. Make sure the arrow on the pump is facing the house. Connect the power cord through the heater’s access hole and link it to the blue connector on the control board. Connect the ground wire to the green screw on the control board.
Make sure the pump is filled with water before starting it. Set the DIP switches on the water heater control board for the right recirculation system setup. This makes sure the system works well and without problems.

By following these steps and using the installation diagram, you can set up your hot water recirculation system right. Enjoy constant hot water and save on energy.
Domestic Hot Water Circulation System Diagram
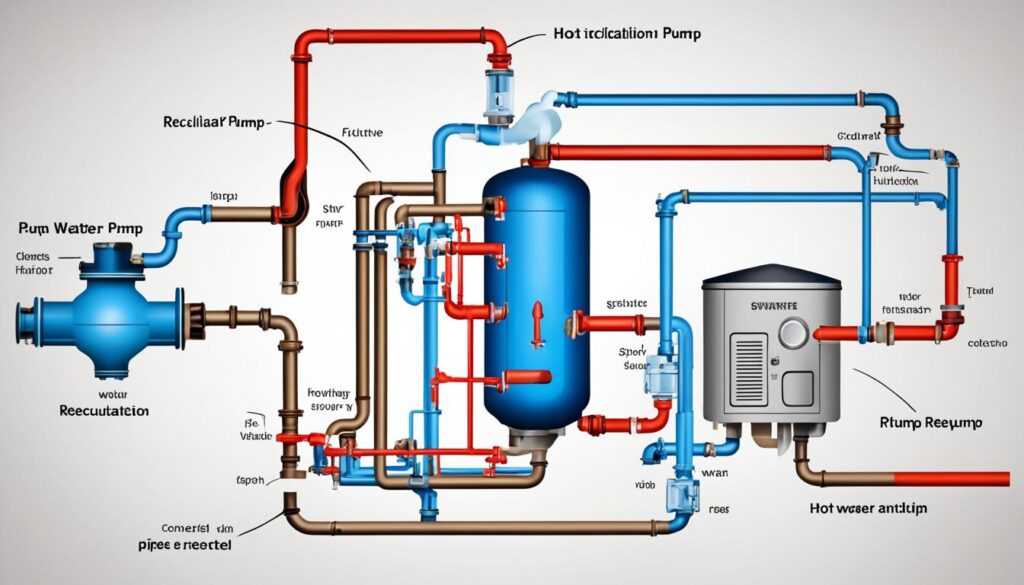
Having hot water always ready is key for comfort and efficiency at home. The hot water recirculation system makes sure you always have hot water. Let’s look at the main parts of this system.
The tankless water heater is at the center, giving you endless hot water when you need it. The recirculation pump keeps the hot water moving back to the heater. This stops it from getting cold in the pipes. The return line then sends the hot water back to the heater, finishing the loop.
An expansion tank helps the system work well. It takes in the extra water as it gets hot, stopping the pressure from getting too high. Shut-off valves and a check valve also play a part. They manage the water flow and stop backflow.
Putting in and looking after the hot water recirculation system is key for it to work right. By following the maker’s guide, you can make sure it’s set up correctly. This means it uses less energy and works better.
| Component | Purpose |
|---|---|
| Tankless Water Heater | Provides unlimited hot water on demand |
| Recirculation Pump | Continuously circulates hot water back to the heater |
| Dedicated Return Line | Carries hot water back to the heater |
| Expansion Tank | Absorbs increased water volume as it heats up |
| Shut-off Valves | Control the flow of water in the system |
| Check Valve | Prevents backflow of water in the system |
Knowing about the main parts and how to install a domestic hot water circulation system is helpful. Homeowners can enjoy the benefits of having hot water always ready and saving energy with this upgrade.
Pipework Diagram for Hot Water Circulation
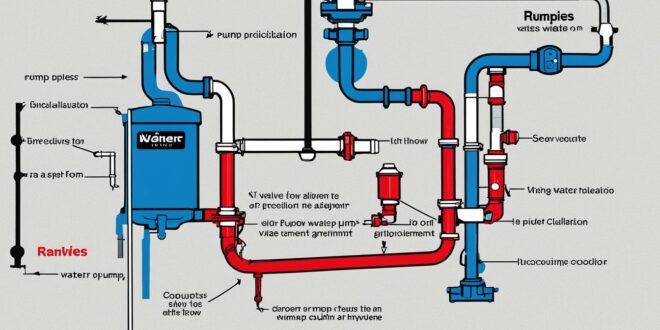
Installing a hot water recirculation system requires a good understanding of the pipework diagram. This diagram shows how the tankless water heater, hot water fixtures, and the recirculation pump connect. They work together to keep hot water flowing efficiently in your home.
The diagram shows the tankless water heater linked to the hot water supply line. This line then splits to the hot water fixtures and the return line. The recirculation pump is placed on the hot water discharge line. It keeps pumping hot water back to the heater for constant use.
Important parts like shut-off valves and a check valve are also included. They stop backflow and keep the recirculation loop safe. The right size of the piping is key for the system to work well. It takes into account the fittings and both supply and return lines.
If your home’s water is harder than 180 mg/L, treating it is a good idea. This prevents problems with the pump and water heater, like scaling and less efficiency. By understanding the pipework diagram and following the installation guide, you can have a smooth and efficient hot water recirculation system. This means you’ll always have hot water when you need it.
“Proper installation and maintenance of your hot water recirculation system are key to ensuring long-term efficiency and reliable hot water delivery.”
Recirculation Pump Installation Diagram
Installing a hot water recirculation system is easier with a clear diagram. It shows you how to set it up right. We’ll guide you through the steps to make your recirculation pump work well.
First, turn off the power to the water heater and close the gas and water valves. Drain the system, then put the recirculation pump on the water heater’s discharge. Make sure the pump’s arrow is facing the house. Connect the power cord to the blue connector on the control board, and secure the ground wire to the green screw.
After setting up the plumbing and wiring, start the system. Make sure the pump is filled with water before it starts. Adjust the DIP switches on the control board for the recirculation system. Follow these steps to get your hot water recirculation system working efficiently, giving you hot water on demand at home.
 Gmrxe Entertainment and Information


